블로그에 ISSUES와 연관된 댓글 기능 넣기
블로그에 ISSUES와 연관된 댓글 기능 넣기
✨utterances를 이용하여 issues와 연동된 댓글을 작성할 수 있도록 만들어보자✨
✅ utterances 설치하기
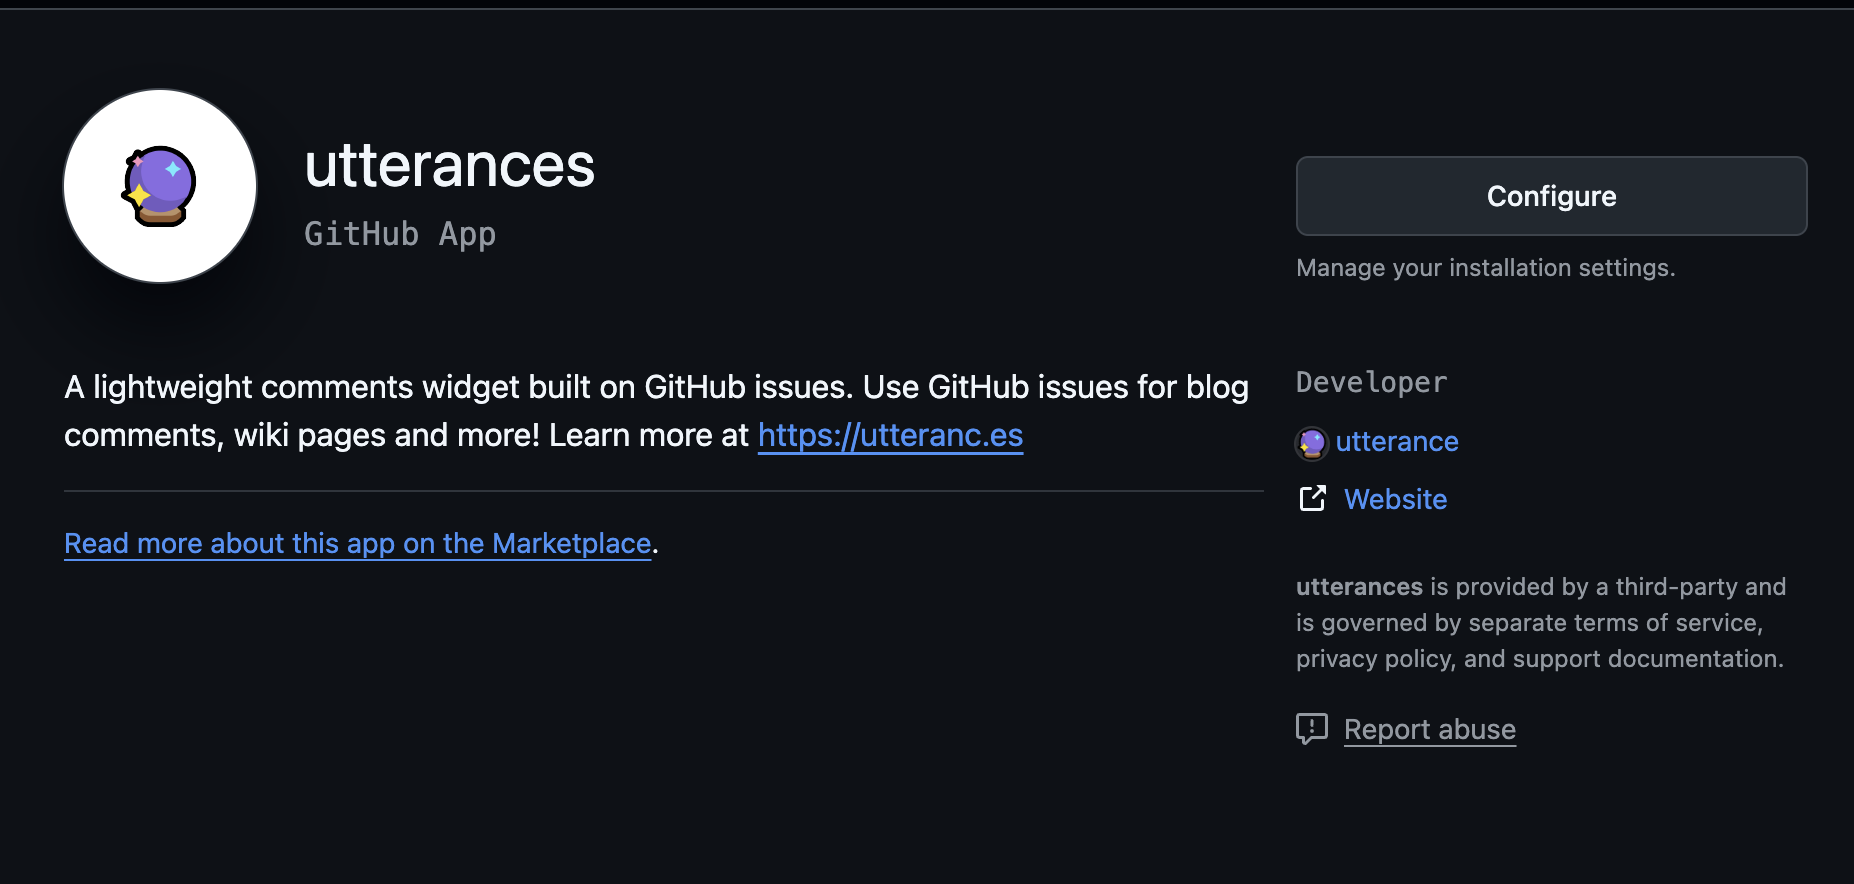
1. utterances 사이트 접속
https://github.com/apps/utterances
2. configure 클릭
- 왼쪽에 바로 보입니당
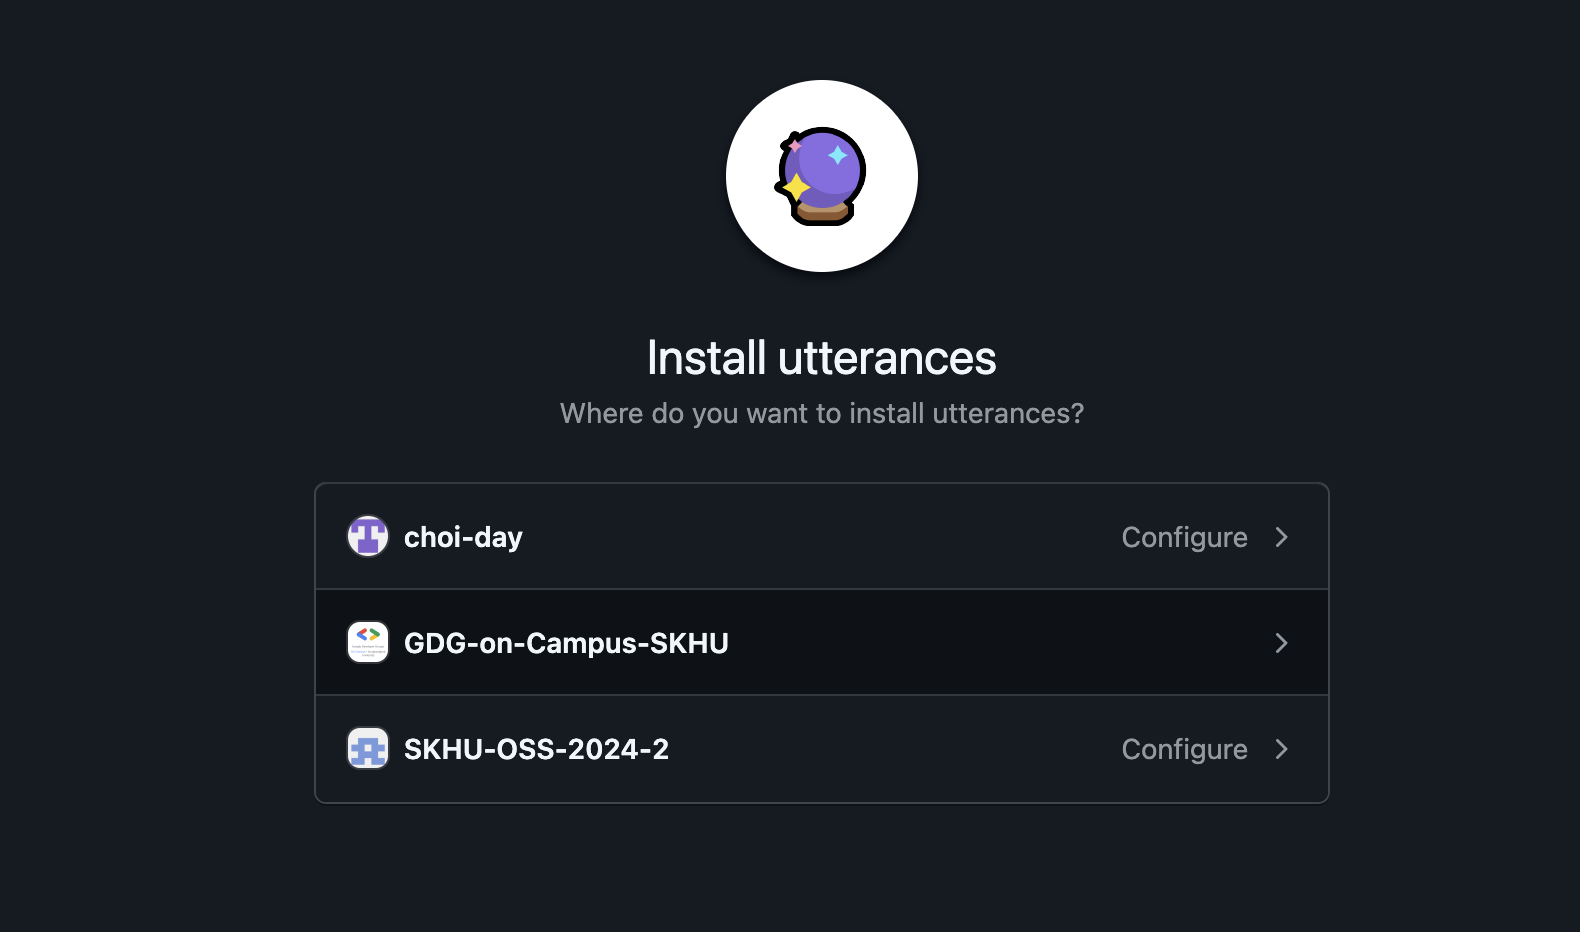
3. 적용할 repository 선택
- 자신의 블로그 repository를 선택해줍니다
✅ utterance 설정하기
1. utterances 사이트 접속
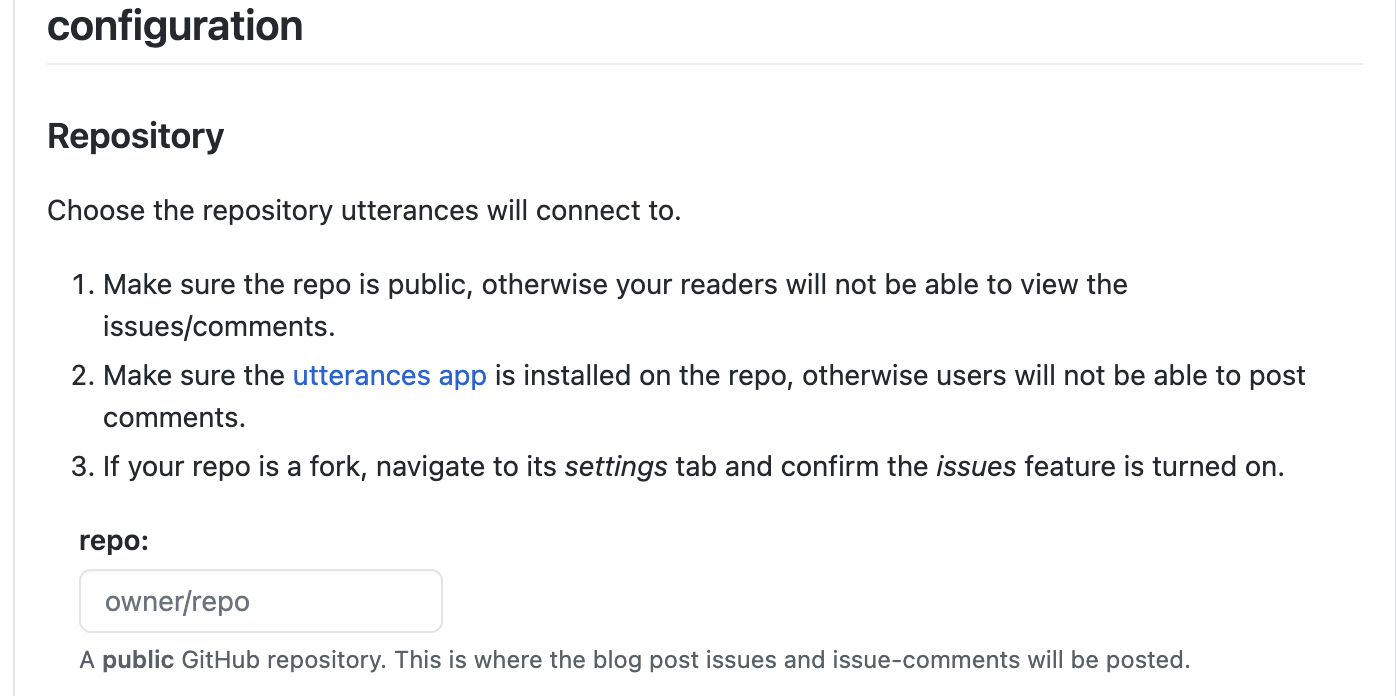
2. repository 설정
- git id/repository를 등록해준다
3. Issue mapping방법 설정
- 일반적으로 첫번째 방법을 많이 사용한다고 한다. 나 또한 첫번째 방법 선택
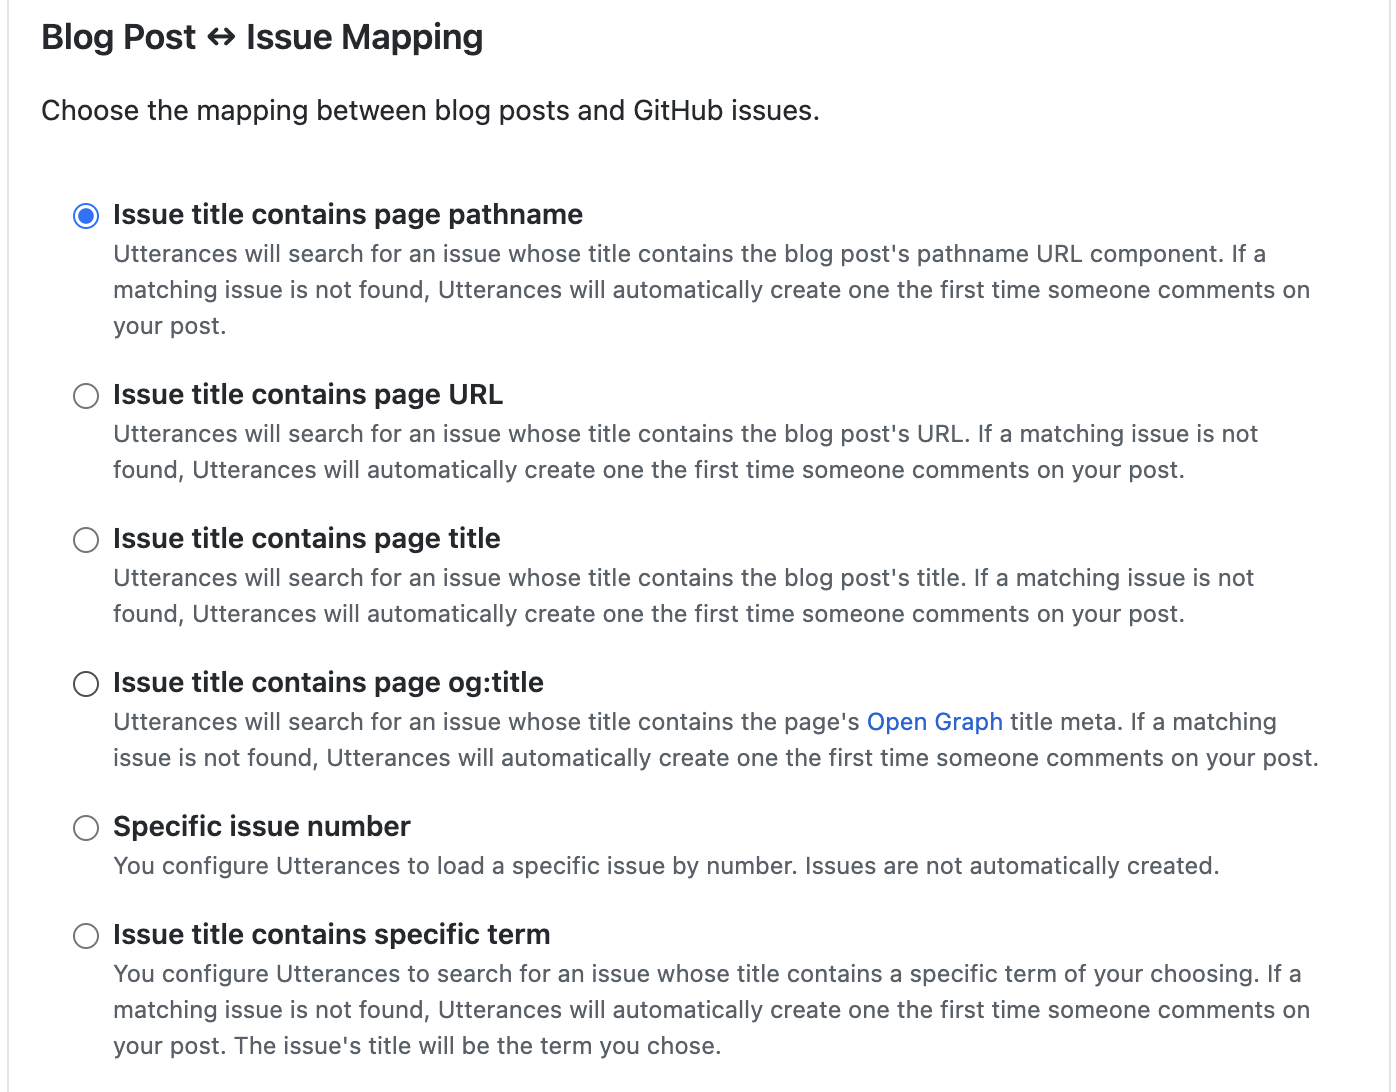
Issue title contains page pathname : 등록된 레포지토리와 같은 pathname 경로로 매핑 Issue title contains page URL : 등록된 url 과 같은 url로 매핑 Issue title contains page title : 제목과 같은 title로 매핑 Issue title contains page og:title : og태그의 title로 매핑 Specific issue number : 특정한 issue 번호로 매핑 Issue title contains specific term : 특정한 키워드로 매핑
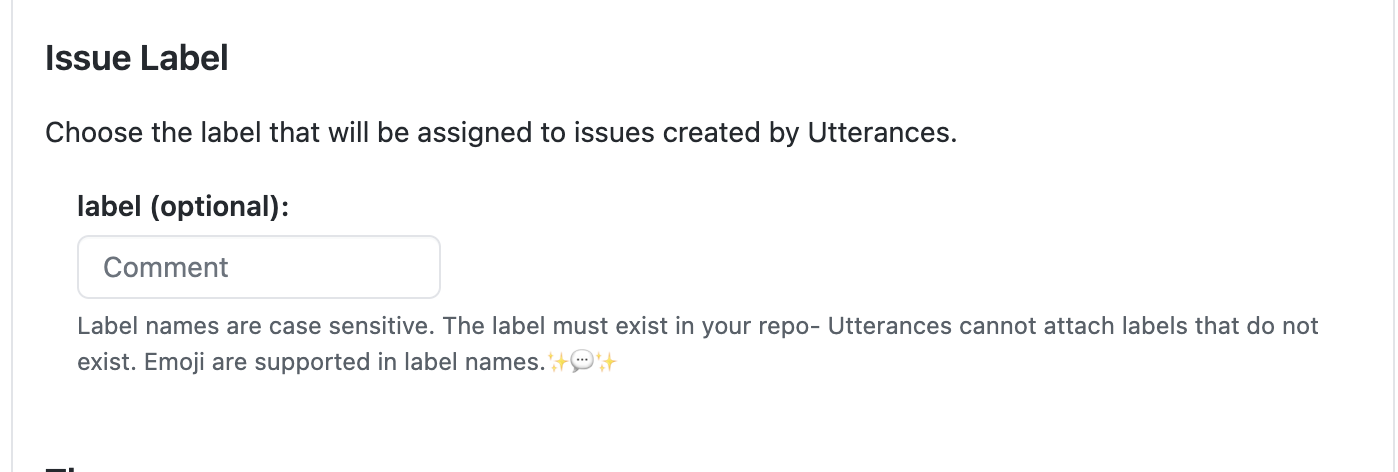
4. Issue label설정
- 댓글을 작성하면 작성되는 issue에 어떤 라벨을 붙일지 선택하는 것
- 안 해도 문제는 없다.
- 원하는 issue label을 작성
➕ issue 라벨 추가하기
- 자신의 블로그 repository로 들어가 issues탭을 클릭
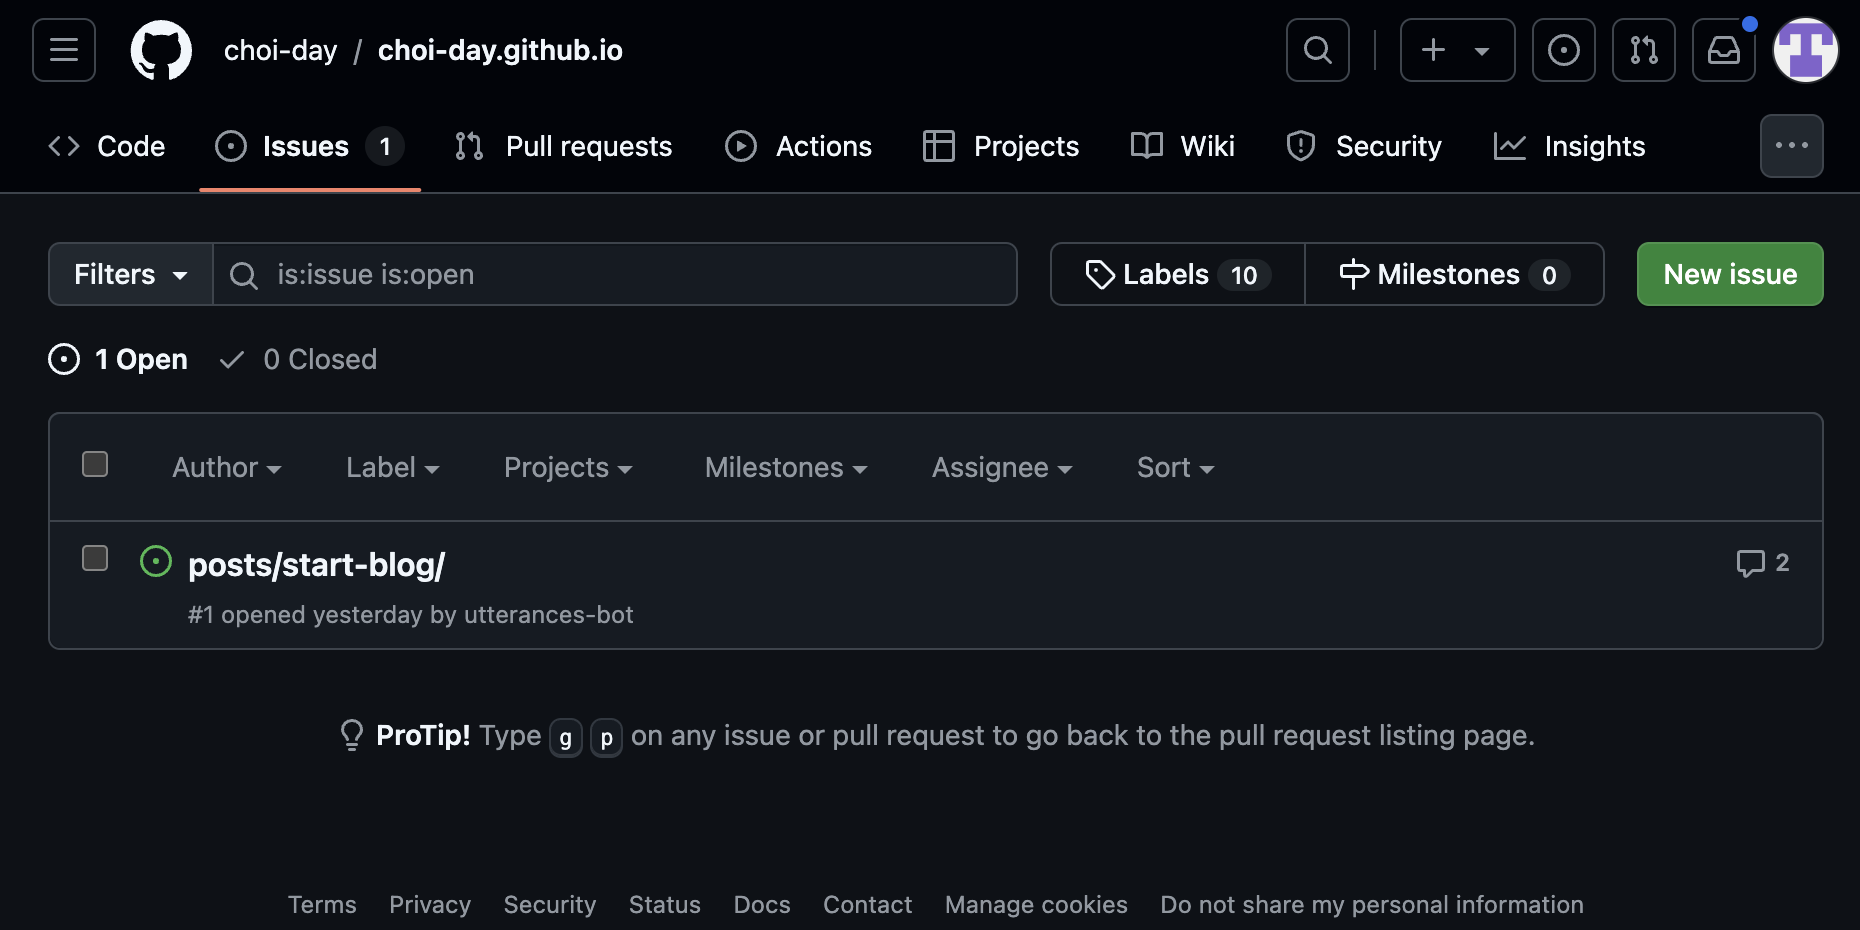
- 초록색 New issue 의 오른쪽 * 2에 있는 Labels 클릭

- 초록색 New label 클릭 후 라벨 이름, 설명, 색상 설정
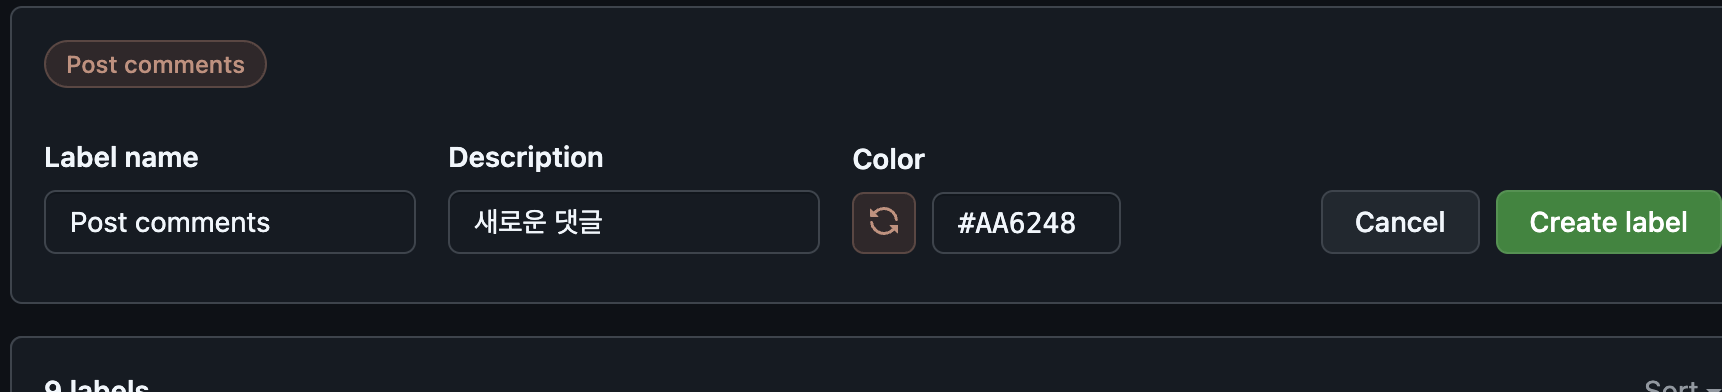
- 초록색 Create label 클릭
5. 코드에 적용
- Enable Utterances에 코드가 생성되었다

- _config.yml을 수정해준다
1
2
3
4
5
6
7
8
9
10
comments:
# Global switch for the post-comment system. Keeping it empty means disabled.
provider: utterances
# The provider options are as follows:
disqus:
  shortname: # fill with the Disqus shortname. › https://help.disqus.com/en/articles/1717111-what-s-a-shortname
# utterances settings › https://utteranc.es/
utterances:
  repo: choi-day/choi-day.github.io
  issue_term: pathname
- provider를 utterances로 설정
- utterances 아래 repo에 자신이 위에서 입력했던 입력했던 git id/repository 입력
- issue_term에 자신이 선택했던 mapping방법 입력
저장 후 push해준다.
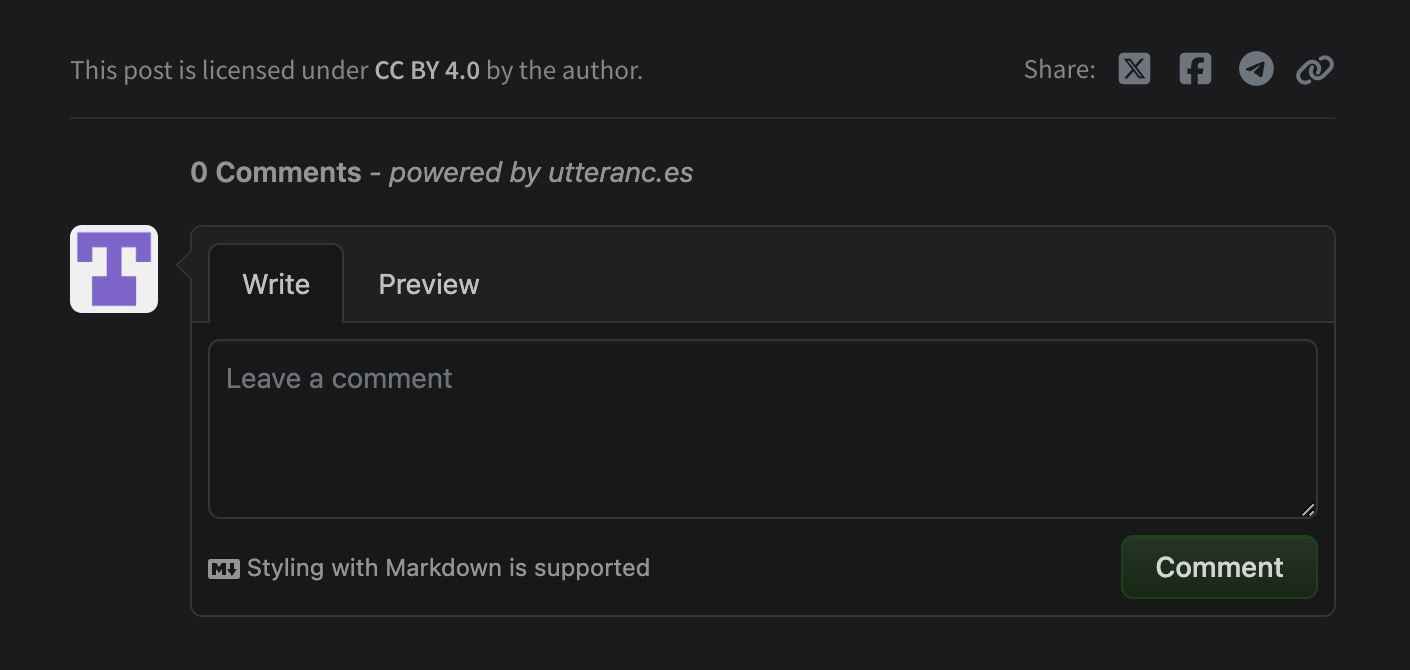
✅ 댓글기능 적용 확인
- 게시글 아래 댓글을 작성할 수 있는 창이 생긴 것을 확인할 수 있다 만세!!!!
This post is licensed under CC BY 4.0 by the author.